Bearing damage remains one of the top causes of unplanned downtime in industrial facilities worldwide. A significant proportion of that damage is not caused by the bearing itself — it is caused by incorrect installation. Forcing a cold bearing onto a shaft using a hammer, arbour press, or improper flame heating introduces micro-cracks, race distortion, and residual stress that silently shorten bearing life from years to weeks.
Induction heating is the internationally recommended method for safe, controlled bearing fitting and removal. This step-by-step guide walks you through the complete process — from equipment selection to final demagnetisation — so every installation is done correctly, first time.
When a bearing is heated uniformly, its inner race expands. The interference fit — the designed tight tolerance between the bearing bore and the shaft — temporarily relaxes, allowing the bearing to slide onto the shaft without force. As the bearing cools, it contracts, locking onto the shaft with precise, designed clamping force.
This process, when done with a calibrated induction heater, is:
📖 Compare this with gas torch heating — a method prone to temperature spikes and localised overheating. See our in-depth induction heater vs gas torch comparison for a full analysis.
📖 To understand which power rating is right for your bearing sizes, read How to Choose the Right Induction Heater Power (kW).
Before beginning any bearing heating operation, ensure the following equipment is available and in serviceable condition:
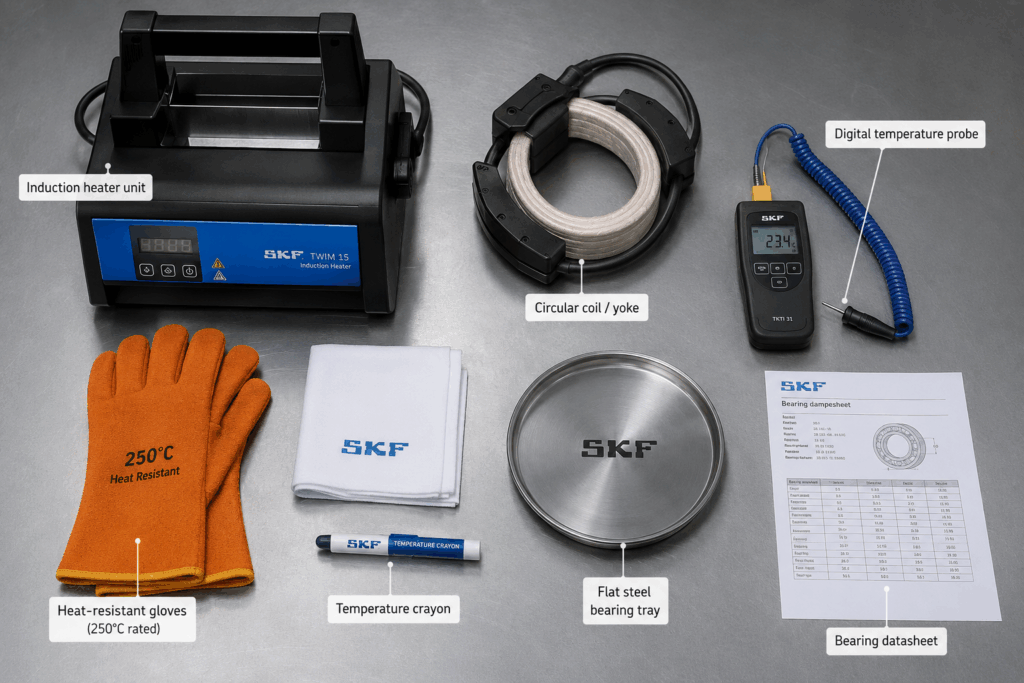
Rushing the preparation phase is the most common cause of failed or damaged installations. Invest five minutes here to save hours — or days — of unplanned downtime later.
📖 Refer to our article on common induction heater mistakes for a detailed checklist of pre-operation hazards.
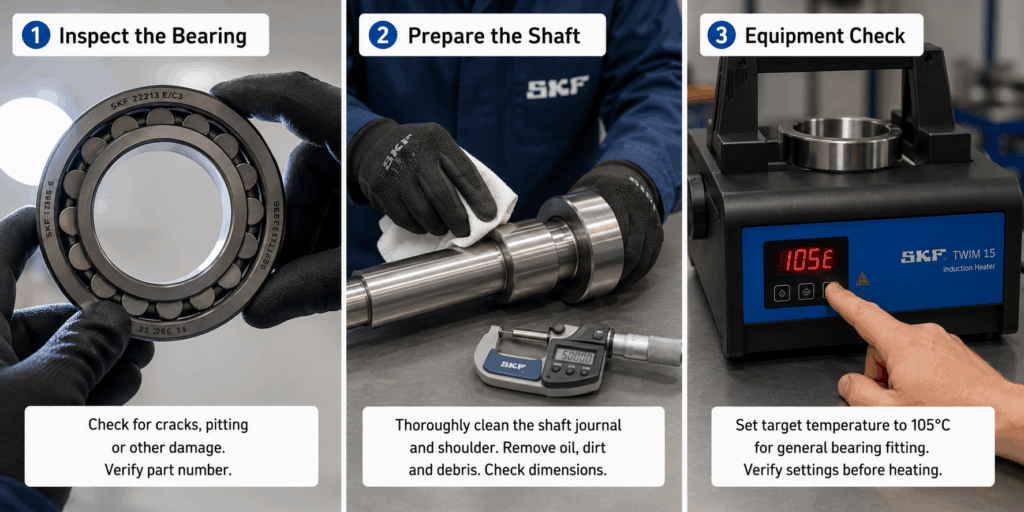
⚠️ Target temperature for most bearings: 80°C to 110°C above ambient. Never exceed 125°C unless the bearing manufacturer specifically authorises higher temperatures.
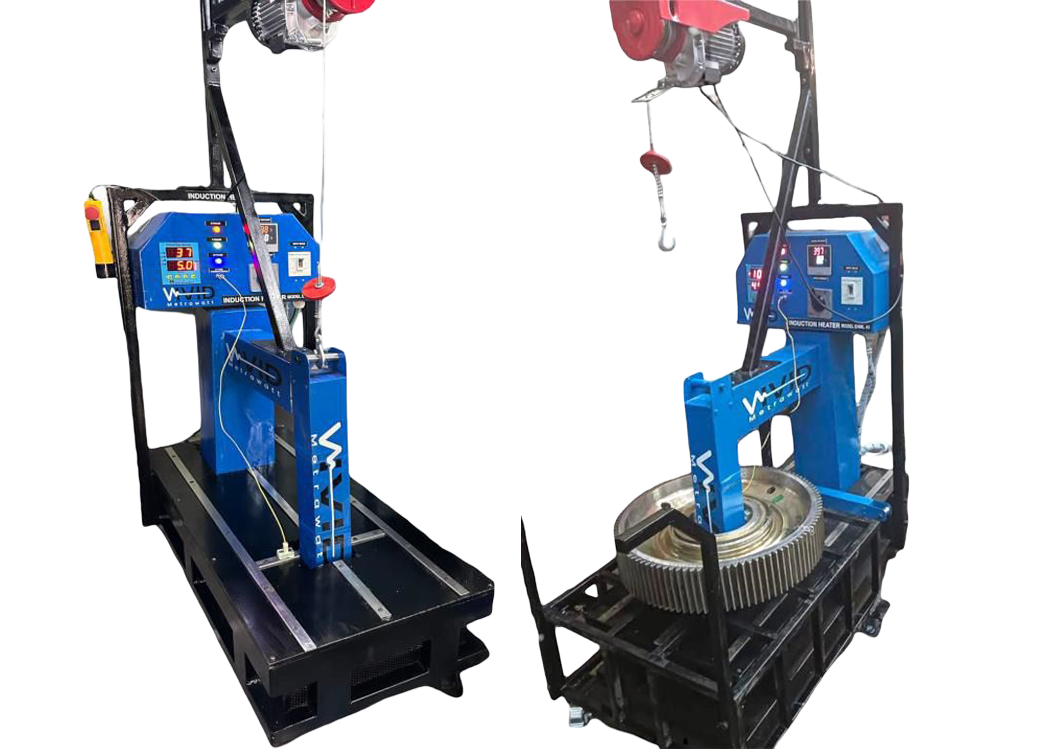
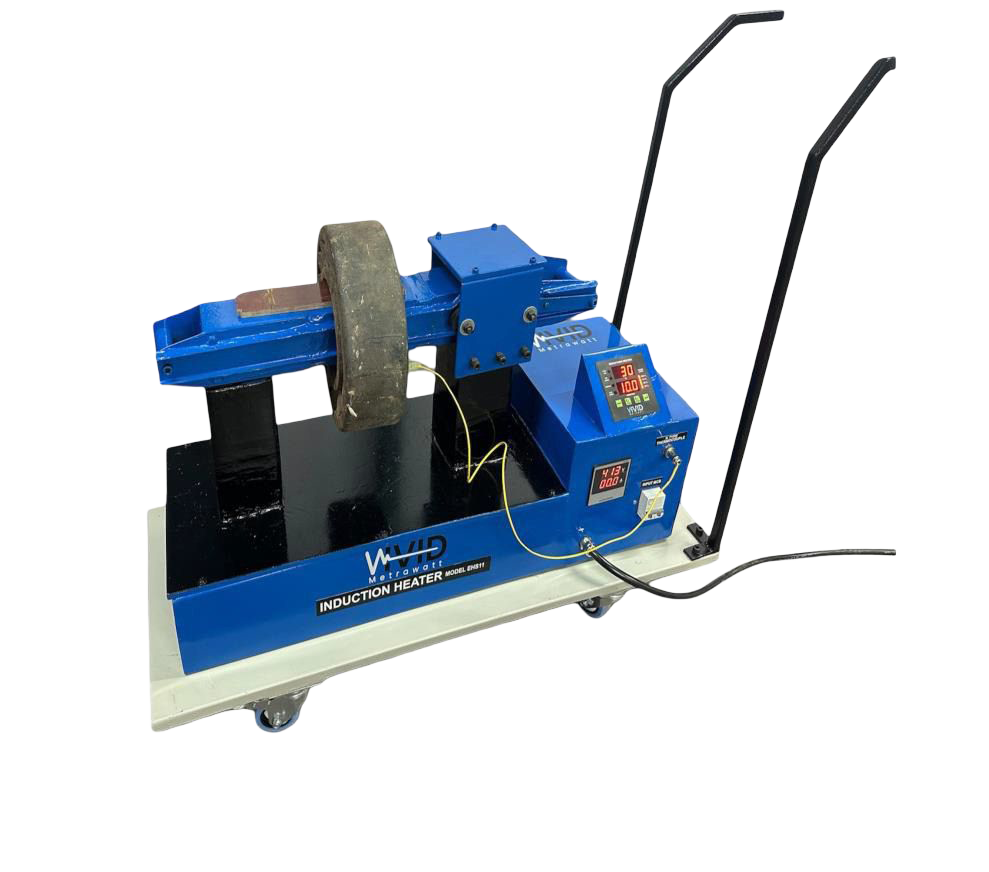
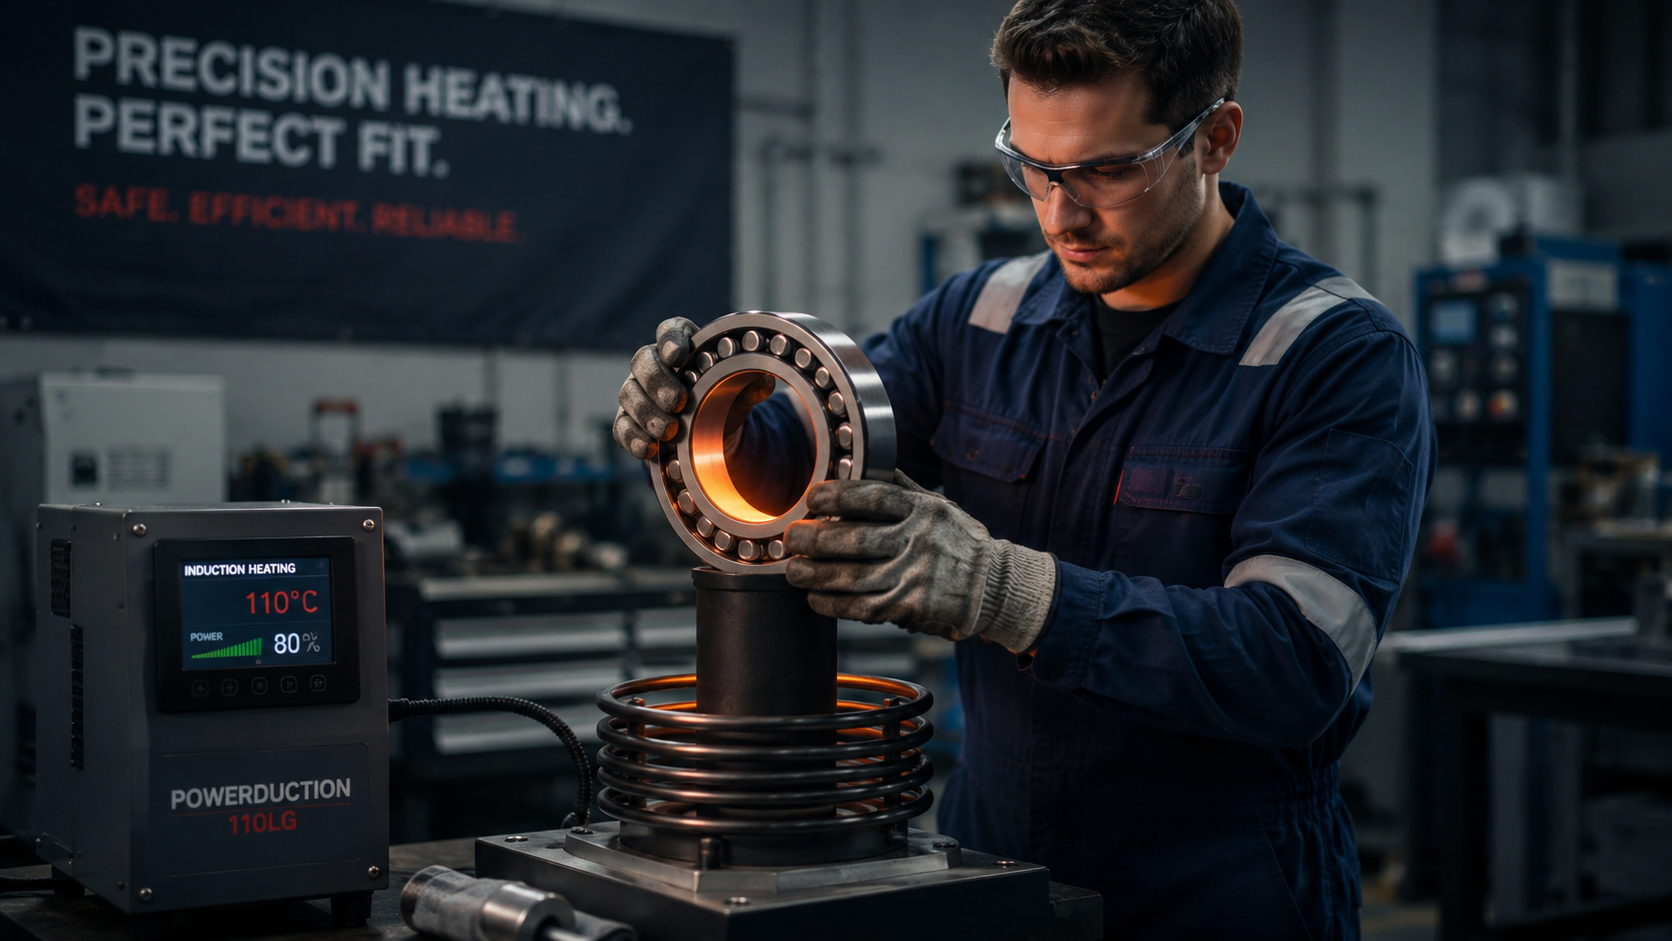
Place the bearing horizontally on the induction heater’s support bars or coil yoke. Ensure the bearing is centred and not touching the coil directly. For ring-type bearings, the coil should pass through the bore.
Enter the target temperature on the digital controller. For most carbon steel bearings with medium interference fits, 90°C–110°C above ambient is the standard. Use the bearing manufacturer’s data or ISO 286/ISO fits tables if unsure.
Activate the heater. The heating cycle will begin automatically. Do not leave the machine unattended during the cycle. Monitor the temperature display continuously.
When the set temperature is reached, the heater will alarm and automatically cut off power (on units with automatic shut-off). Independently verify temperature with a contact thermometer or temperature-indicating crayon before handling.
Using insulated heat-resistant gloves, remove the bearing from the heater promptly. Place it onto the shaft in a single, smooth motion. Do not rock or tilt the bearing — fit it square to the shaft from the start.
Apply steady, even pressure using a bearing driver or fitting sleeve if resistance is encountered. The bearing should slide on with minimal force. If significant force is needed, the bearing has not expanded sufficiently — re-heat.
Push or press the bearing fully home against its locating shoulder. Hold it in position briefly until initial cooling provides grip. Allow the bearing to cool completely to ambient temperature before applying any load.
Run the induction heater’s demagnetisation cycle immediately after the bearing is fitted and cool. This removes residual magnetic fields that would otherwise attract metallic particles into the bearing, accelerating wear.
🔧 Our induction heaters feature automatic demagnetisation. See the full induction heater range for model-specific features.
Induction heating is equally effective for controlled bearing removal — particularly for press-fit bearings on shafts that cannot be pulled without risk of shaft or housing damage.
Determine whether the bearing is on the shaft, in a housing, or both. For shaft-mounted bearings, the goal is to expand the inner race to allow slide-off.
Position the flat coil or yoke against the bearing’s inner race. For bearings on vertical shafts, use a support fixture to hold the coil securely.
Apply heat rapidly — bearing removal typically requires faster heating than installation. Target 80°C–100°C on the inner race surface. Do not heat the entire bearing assembly excessively, as this will also expand the outer race and housing.
Using extraction tools (bearing puller or press), apply removal force as soon as the target temperature is reached. The expansion of the inner race reduces the interference fit and allows the bearing to slide off with significantly reduced force.
After removal, inspect the shaft journal and housing bore for fretting, corrosion, or surface damage before installing the new bearing.
| Bearing Bore Diameter | Typical Interference Fit | Recommended Heating Temp | Expansion at 100°C (approx.) |
|---|---|---|---|
| 25–50 mm | 0.010–0.025 mm | 80–90°C above ambient | ~0.03 mm |
| 50–100 mm | 0.015–0.040 mm | 90–100°C above ambient | ~0.06 mm |
| 100–200 mm | 0.030–0.060 mm | 100–110°C above ambient | ~0.12 mm |
| 200–400 mm | 0.050–0.100 mm | 110–120°C above ambient | ~0.25 mm |
📌 Note: Always refer to the bearing manufacturer’s technical specification and the machine OEM’s installation manual for precise temperature and fit specifications. The values above are indicative guidelines for standard deep groove and cylindrical roller bearings in carbon steel housings.
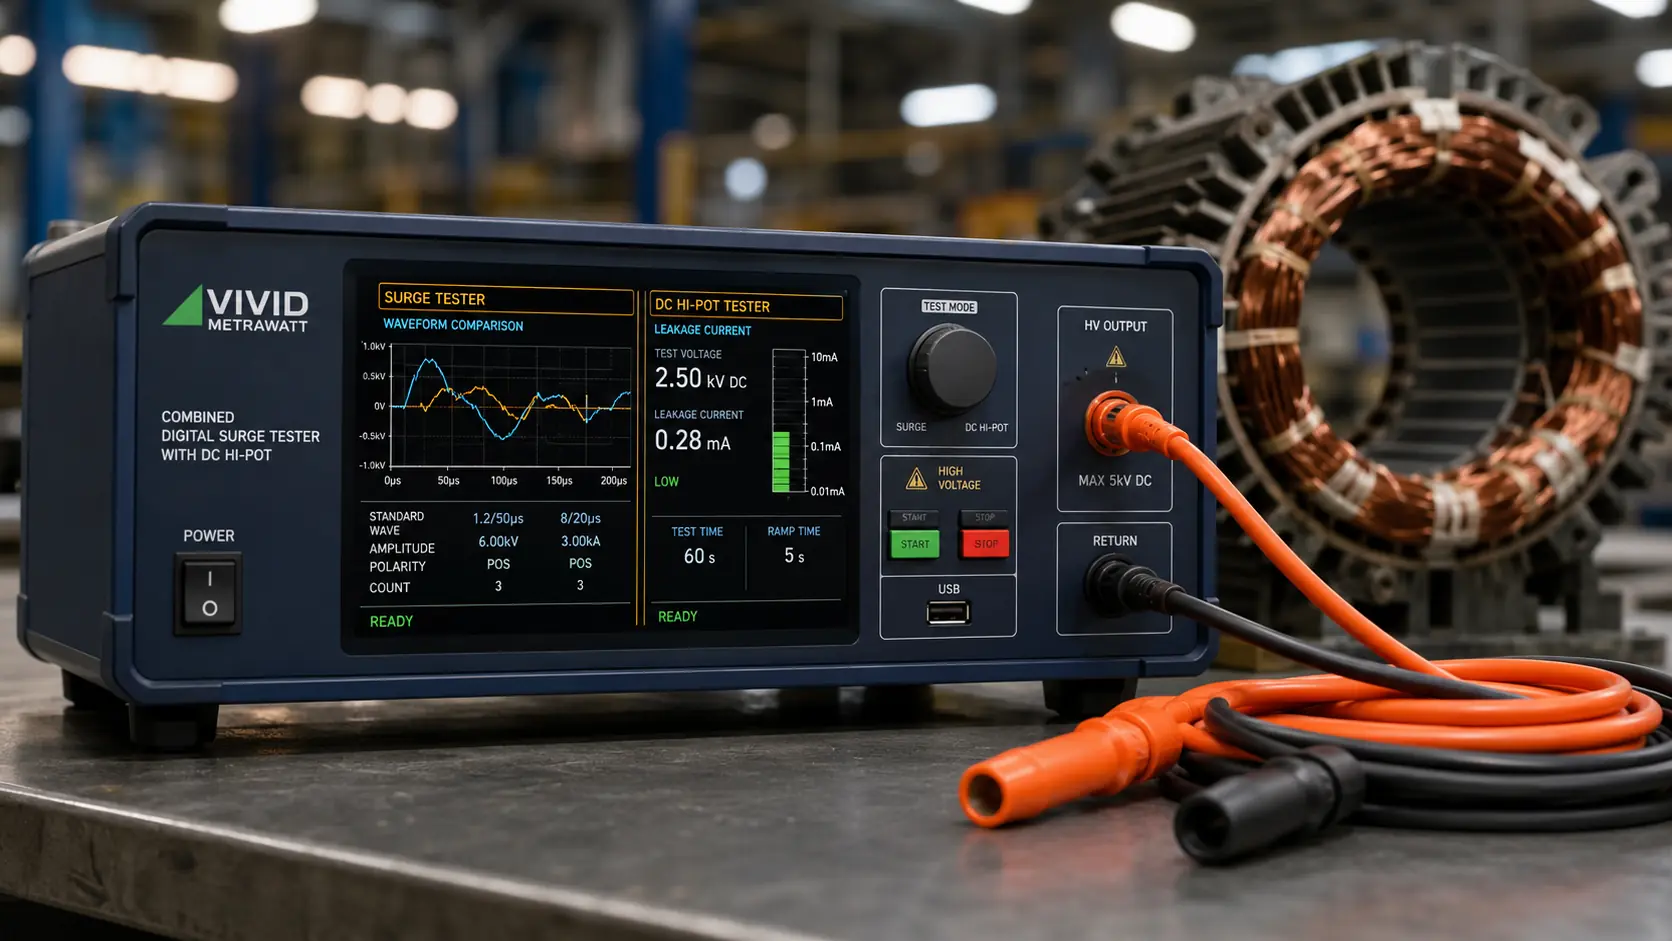
This step is frequently overlooked by technicians who are unfamiliar with the physics of induction heating. During the heating process, the alternating magnetic field partially magnetises the bearing steel. A residual magnetic field — even a weak one — will continuously attract ferrous debris and micro-particles from the lubricant, forming an abrasive paste that destroys the rolling element surfaces within weeks.
Modern induction heaters, including all Vivid Metrawatt models, include a demagnetisation cycle that reverses and decays the magnetic field in a controlled ramp. The process takes 90–120 seconds and should be performed after every heating operation.
📄 Learn more about proper maintenance procedures and equipment care on our resources page.
| Mistake | Consequence | Correct Practice |
|---|---|---|
| Using a hammer to drive bearing onto shaft | Race cracking, brinelling, premature failure | Induction heating + gentle pressing |
| Overheating the bearing (>125°C) | Softening of races, dimensional change | Set precise temperature limit on heater |
| Skipping demagnetisation | Metallic particle contamination in lubricant | Always run demagnetisation cycle |
| Fitting without cleaning shaft | Inclusion of particles under race | Clean shaft before every installation |
| Applying heat from gas torch | Uneven temperature, hot spots, localised damage | Use calibrated induction heater only |
| Using wrong size coil | Poor coupling, inefficient heating, long cycle | Match coil to bearing bore diameter |
📖 For a detailed breakdown, see our Induction Heater Mistakes to Avoid guide.
The generally accepted maximum is 120°C–125°C for standard carbon steel bearings. Higher temperatures can alter the metallurgical properties of the bearing steel, particularly for precision-grade bearings. Always confirm with the bearing manufacturer.
Cycle times depend on bearing mass and heater power. A 2 kg bearing heats to 100°C in approximately 2–4 minutes with a 22 kW heater. A 30 kg bearing may take 8–12 minutes. Larger heaters reduce cycle time proportionally.
No. When operated within the recommended temperature range with a calibrated heater, induction heating is the safest installation method available. Damage only occurs when temperatures are exceeded or when the demagnetisation step is omitted.
No. Do not remove grease or lubrication before induction heating. The process temperature is well below the breakdown point of standard bearing greases. Cleaning the bearing before heating is neither necessary nor recommended.
For general workshop use, a 22–33 kW induction heater with digital temperature control and automatic demagnetisation covers the majority of bearing sizes. For large industrial bearings over 50 kg, a 44 kW model is recommended.
Induction heating for bearing fitting and removal is not just a better method — it is the right method. It eliminates installation damage, reduces fitting time by up to 60%, improves bearing life, and keeps your team safe from burns, fire risk, and toxic fume exposure.
Whether you are maintaining a production line, servicing heavy rotating equipment, or building a best-practice maintenance programme, Vivid Metrawatt’s induction heater range delivers the precision, reliability, and support you need.
Contact our team via the Vivid Metrawatt contact page or visit our customer support centre for application-specific guidance and post-sale technical support.
We serve customers across India, UAE, USA, Germany, Australia and many more.
✅ Application-specific heater recommendations from our engineers
✅ Coil selection guidance for your bearing bore range
✅ Live demonstrations available — contact us to arrange